What if I told you that I could turn you into a graphic designer, pro social media marketer, and branding savant in less than 30 minutes? Now, what if I added that you could do this today and for absolutely no money? OK, hear me out! It’s true that we all have the same 24 hours. But for small business owners, solopreneurs, freelancers, and basically anyone working at a smaller scale, those hours need to go so much further. Enter time “hacks”, a.k.a. ways for you to get more done with less time and effort. One of these useful hacks will help you create pro-level visual assets without the hassle. Here’s how to use Canva templates to make your brand look as professional and striking as you need it to be, on print and online.
Step One: Sign up for Canva.
Does it need to be said? No, it doesn’t? OK, I won’t then. Luckily for creators everywhere, there are many user-friendly design tools available including Looka, the entire Adobe Creative Cloud, and more. But for this Canva tutorial to work, you need … well, Canva.
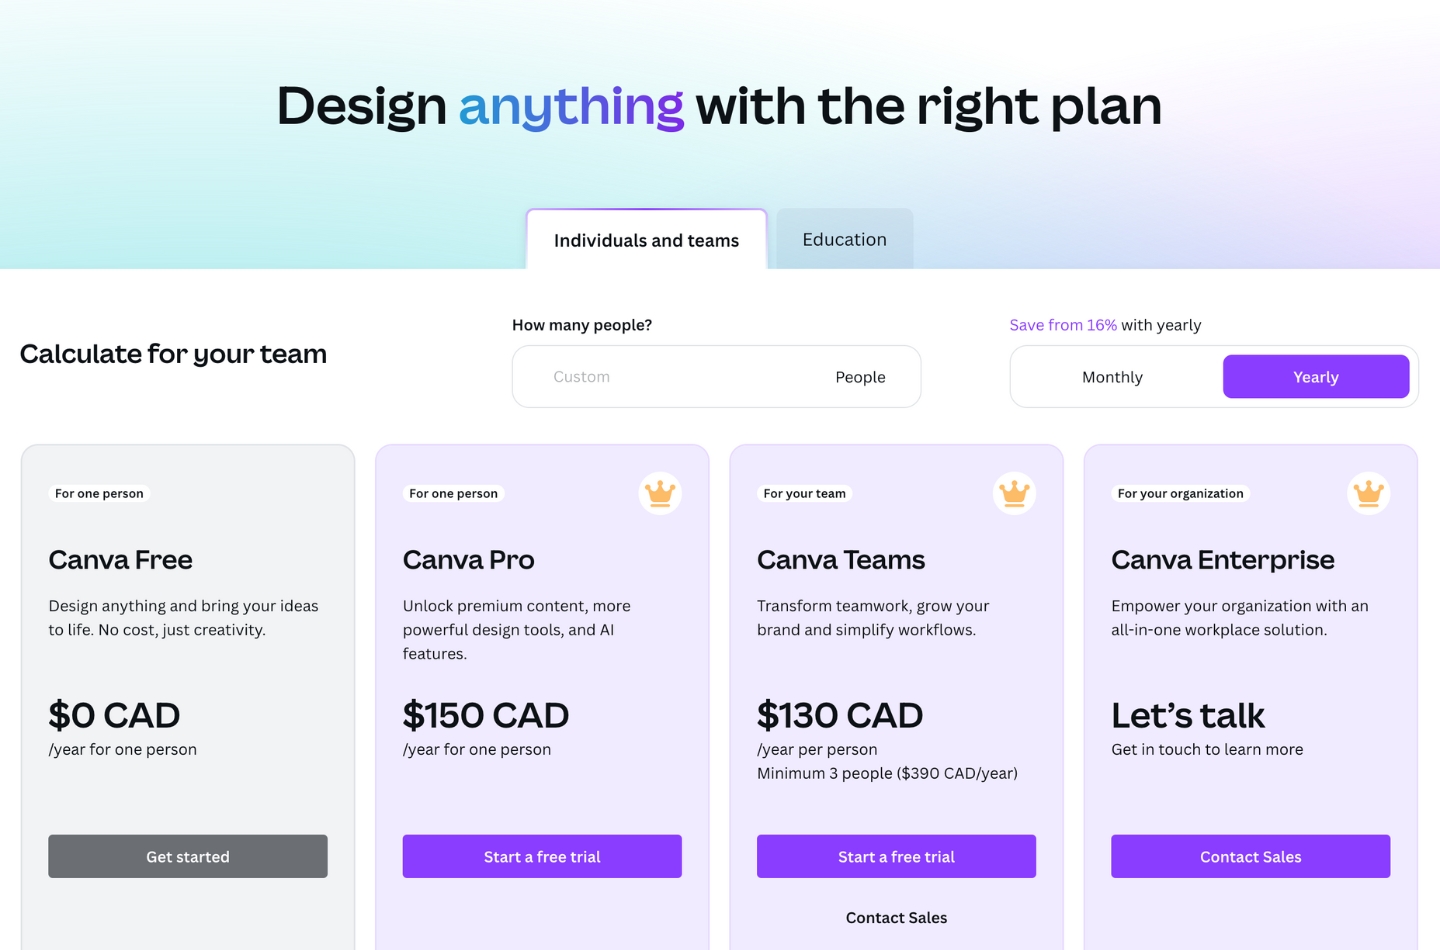
Make sure you know your options by checking out the Canva pricing page. While you can do 90% of this How-To with the Free plan, the Pro plan can get you a step further. More on that later.
Step Two: Create your brand kit.
If you do decide to go with the Pro account, congratulations! You can now upload your own fonts, colours, and logos, and keep them in a handy little section called Brand Kit. This will allow you to easily access and use all of the assets that make your brand what it is. You can manually set your colour palette, or have Canva extract it from your uploaded logo.
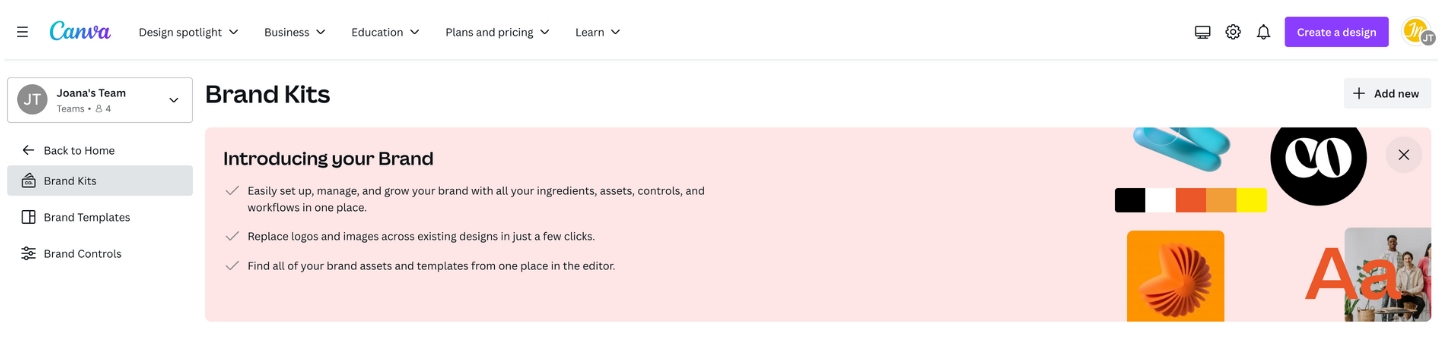
If you don’t have fonts, colours, or even a logo, don’t worry! There are plenty of resources that can help you find an aesthetic you like, and Canva will help you keep it consistent. Note that if you don’t have a premium account, you should probably check out Canva’s font collection to make sure that it includes a font that you like. You don’t want to fall in love with a font and use it on all of your materials, only to realize that you’ll need to find a lookalike in Canva that’s not quite right!
Step Three: Set your graphic size.
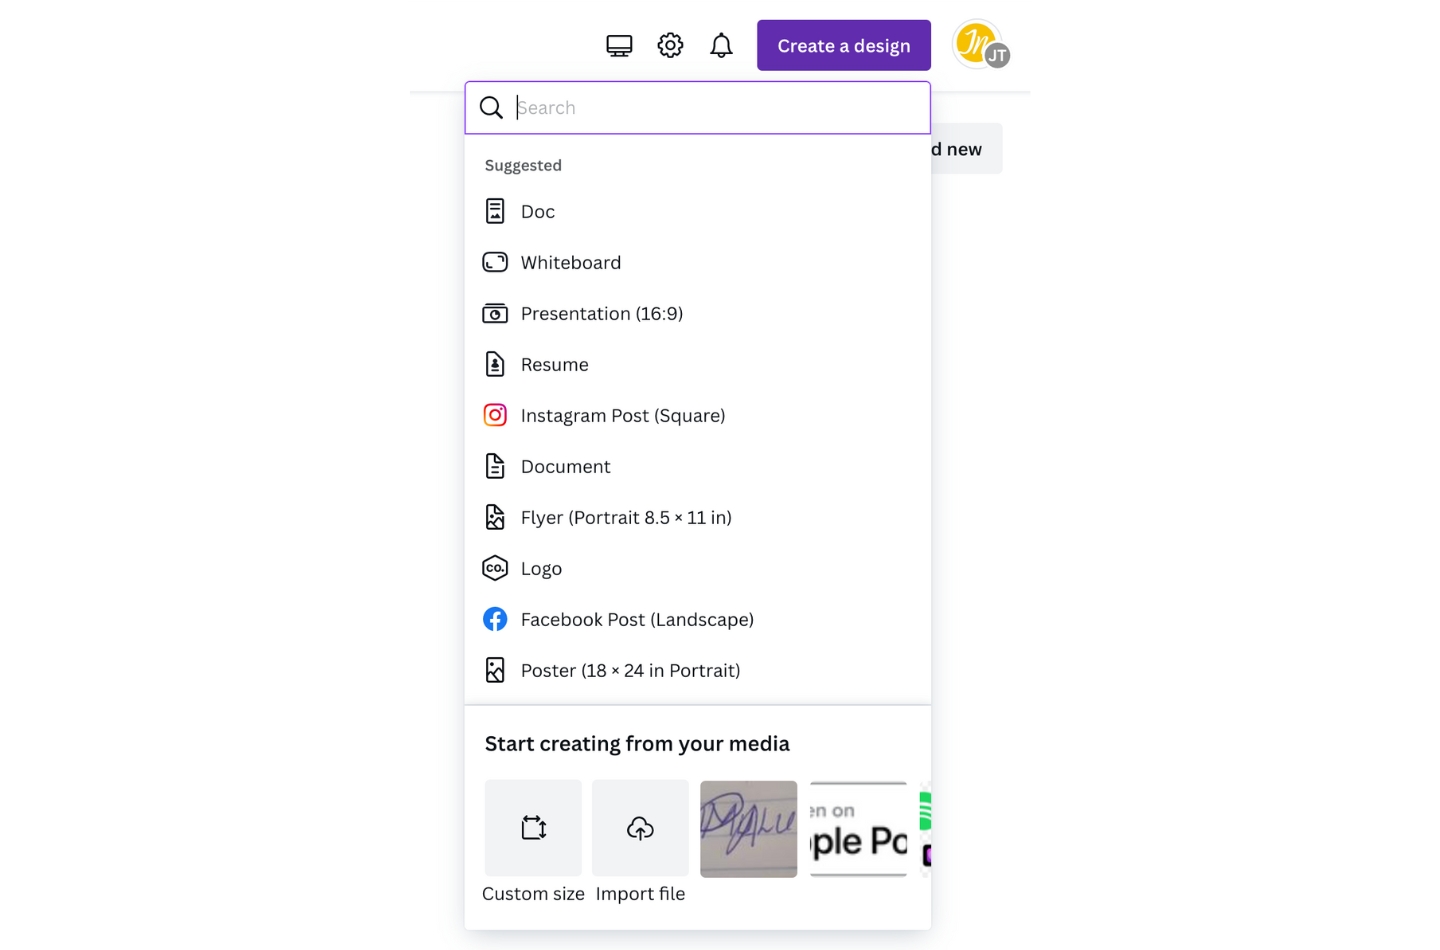
The good people at Canva try to stay on top of graphic specs for popular uses and will recommend them in their suggested designs. Click on the “Create a design” button in the top right of your Canva window and you’ll immediately see options like “Poster”, “Logo”, “Instagram Post”, etc. While these are technically correct, I usually select “Custom Size” and set my own measurements. Why? There’s enough here to write a whole other post, but for now let’s just say it gives me more control and precision. For example, I typically use images that are 1,200 pixels by 1,200 pixels for Instagram – even though the recommended size is 1,080 by 1,080 pixels. This way, the images stay sharp when resized and I can reuse these in a Facebook carousel (which, you guessed it, optimizes images at 1,200 by 1,200 pixels).
Step Four: Find your inspiration.
Once you’ve selected your design size and are in the design window, you can now experience the full power of Canva’s 250,000+ free templates.
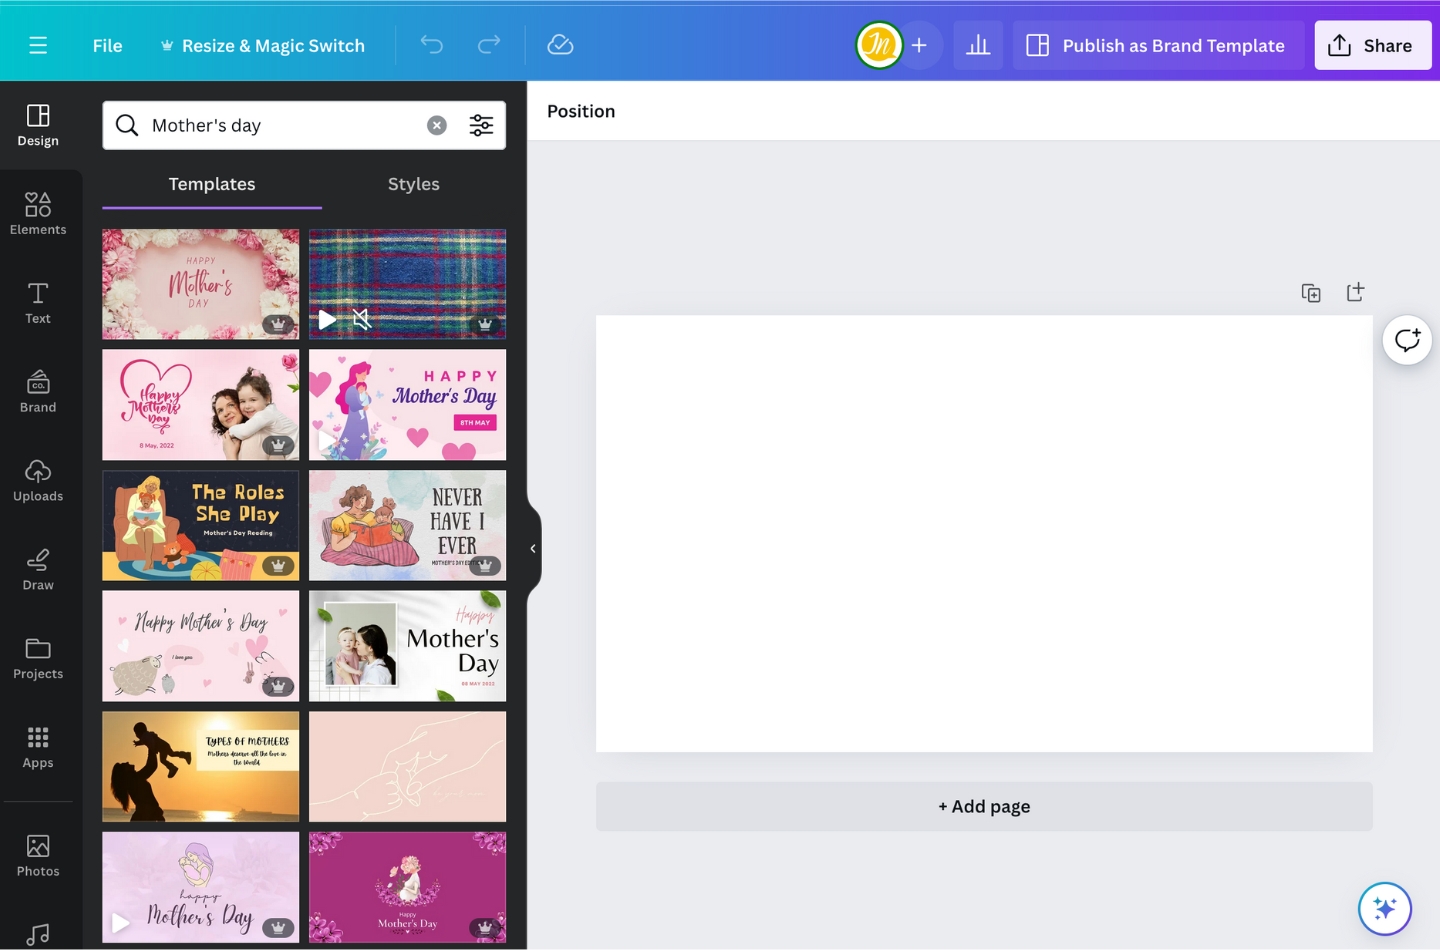
Using keywords to find the right Canva templates
Your graphic has a purpose. Whether it’s promoting a sale, announcing an event, or educating your audience, this purpose is best met using specific design tactics. And you can bet that a designer somewhere has already thought of this.
Setting up multiple templates
While you’re collecting inspiration, you may find that 2 or 3 (or more) of the templates appeal to you. You can use them all! Create a new page within the same file and apply each new template that you like to its own page.
Step Five: Make it your own.
Here’s where things get even more fun. Start by selecting individual elements on each template and switching them up.
Step 6: Resize, refine, iterate, and templatize.
My spellcheck is attempting to tell me that templatize isn’t a word. We’ll see about that!
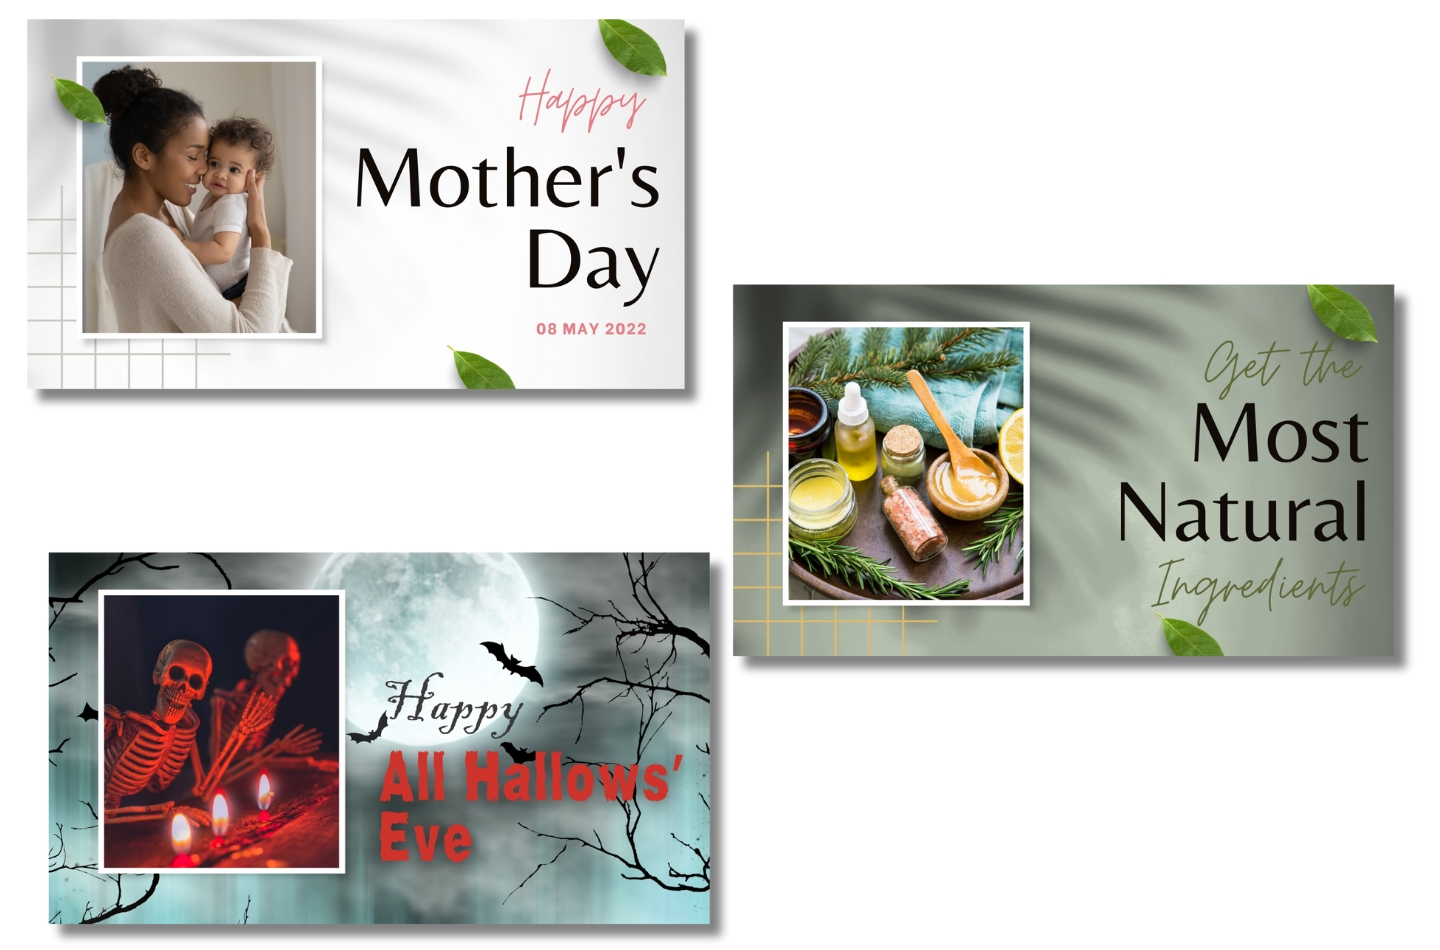
Resize
Now, you may not need this at all, but if you’re on several platforms the “Magic Resize” button is your friend. You can choose whether to resize to specific measurements or to a standard established by Canva using keywords. Keep in mind that the finished product won’t be perfect!
Refine
Remember when I said the finished product won’t be perfect? You’ll still have some light editing to do to your image, but at least you won’t be starting from scratch. This is the step at which you adjust the various elements within your image. You can group some sections together so they increase or decrease in size as a block. This is especially useful when it comes to text that you’ve already aligned with an element on your graphic.
Iterate
Do this as many times as needed and create as many different versions as possible. This will allow you to test out what works with your audience. Something may look right to you, but as soon as you ask a neutral third party to have a look, they catch a glaring mistake. Or you may want to do some A/B testing with your target audience to see what resonates with them more. At the end of the day, the key to boosting online engagement lies with understanding what your people need.
Templatize (a.k.a. Make Your Own Canva Template)
It’s templatize time! After putting all of this hard work into your design, you may decide that it’s a pretty good representation of your brand. As such, it could serve you a few more times with minimal changes. In this case, in addition to saving it in the appropriate project folder in your Canva account, you’ll also want to click on the “Save it as Brand Template” button in the top right corner.
Step 7: Publish or download your masterpiece!
Publishing
Once again, this is a matter of preference. Canva allows you to publish directly to Facebook, Twitter, Instagram, or even share via email, Google Drive, Dropbox and more. For those of us obsessed with organizing and planning ahead, downloading is the way to go. Whether you’re publishing directly or downloading, you’ll need to click on the “Share” button in the top right corner. From there, you can select “Share on social” or “Print with Canva” and go through the respective next steps.
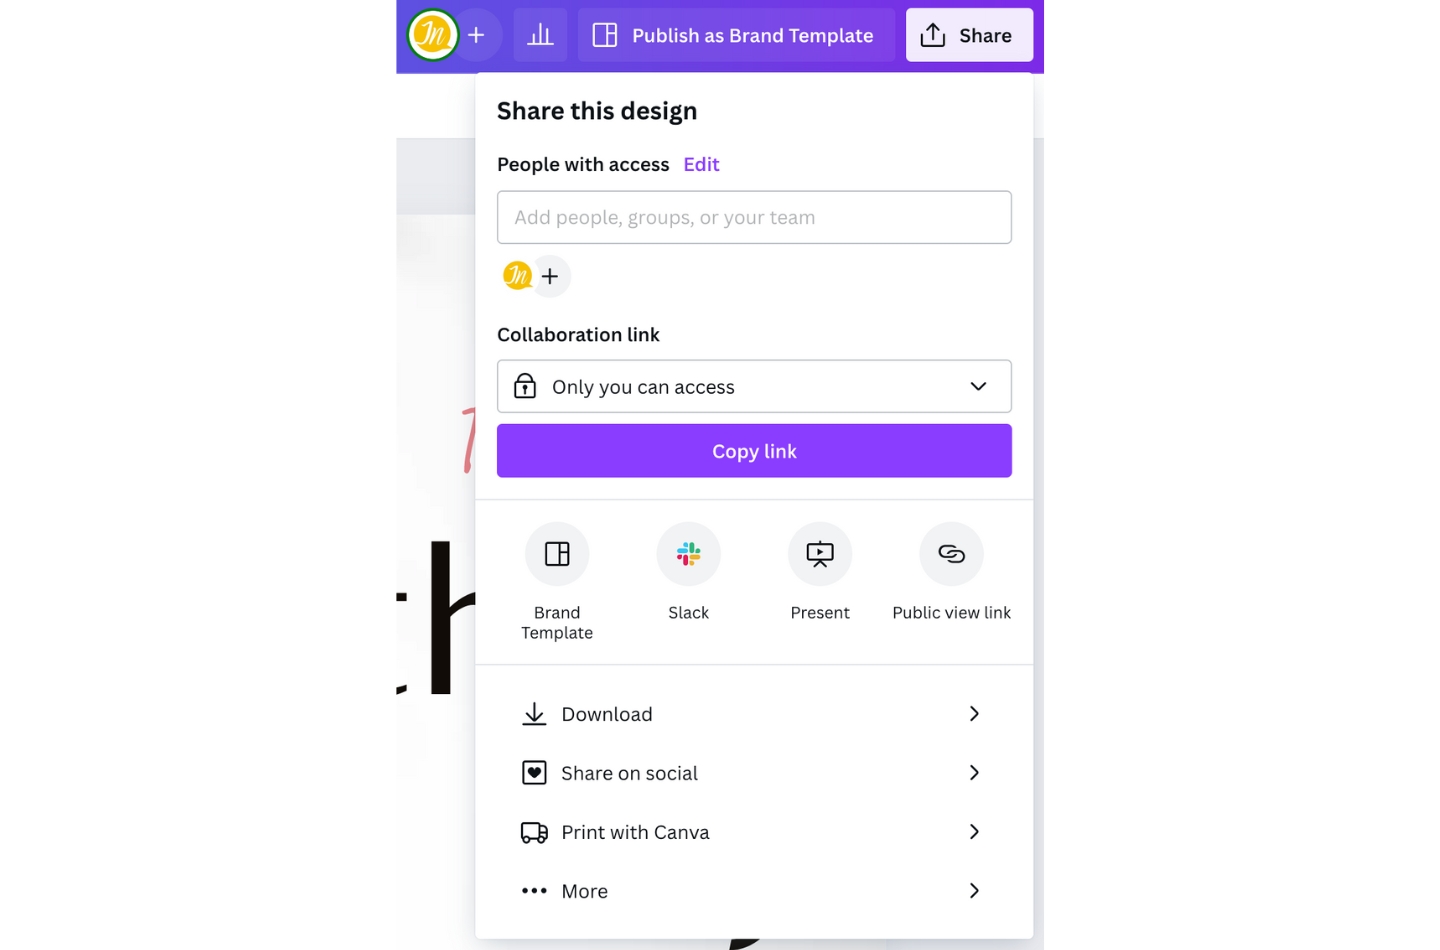
Downloading
Now, within the same “Share” option you can opt to download your graphic in various formats. Whether it’s PNG, JPG, PDF, or something else, Canva lets you choose the type of file you want. You also get to edit other settings, like the number of pages you’d like to download at once.
Canva templates for the win
Whether you choose to use Canva templates or do your own thing within the platform, Canva is really a tool for everyone. From my clients’ and my personal experience, Canva’s learning curve is shallow and the user experience can be quite fun! So let yourself get creative without breaking the bank. And if you’d like for me to post a case study of successful businesses using Canva, let me know in the comments.